
How to Use M-Pesa in Kenya: Complete Beginner’s Guide
Welcome to our comprehensive guide on how to use M-Pesa in Kenya. As a beginner, navigating the world of mobile payments can seem daunting, but don't worry, we've got you covered. In this article, we'll break down exactly how to use M-Pesa in a way that's easy to follow, even if you're new to mobile payments. M-Pesa is a popular mobile payment service that allows you to store and transfer money using your phone. You don't need a bank account to use M-Pesa - your phone number is your account.
In this guide, we'll take you through the basics of M-Pesa, including how to register, send and receive money, and pay for goods and services. We'll also cover some of the more advanced features of M-Pesa, such as the M-Pesa API, which allows developers to access a wide range of M-Pesa services.

Source: YouTube
So, let's get started. The first step in using M-Pesa is to register for the service. This is a straightforward process that can be completed in a few minutes. To register for M-Pesa, you'll need to visit an M-Pesa agent or a Safaricom shop. You'll need to provide some basic information, such as your name and ID number, and you'll receive a SIM card with M-Pesa activated.
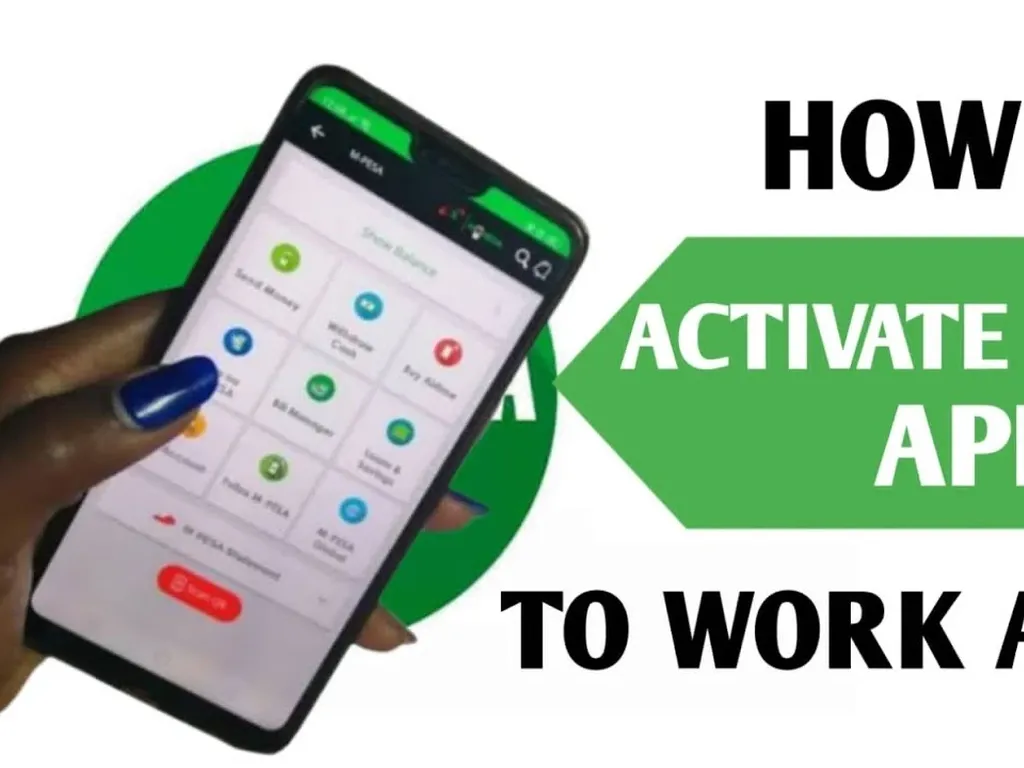
Once you've registered for M-Pesa, you can start using the service right away. To send money using M-Pesa, open the M-PESA App and select the "Send Money" option. Enter the phone number of the person you want to send money to, or select their number from your contacts. You can then enter the amount of money you want to send and confirm the transaction.
Receiving money using M-Pesa is just as easy. When someone sends you money, you'll receive a text message notification. You can then withdraw the money from your M-Pesa account at any M-Pesa agent or ATM.
M-Pesa also allows you to pay for goods and services directly from your phone. To pay for something using M-Pesa, select the "Pay Bill" option and enter the bill number or the pay bill number of the merchant. You can then enter the amount you want to pay and confirm the transaction.
In addition to sending and receiving money, M-Pesa also offers a range of other services, including the ability to buy airtime, pay for electricity and water bills, and even save and borrow money. The M-Pesa API also allows developers to access a wide range of M-Pesa services, including account registration, balance inquiry, money transfer, and more.
Using M-Pesa is a convenient and secure way to manage your finances on the go. With M-Pesa, you can deposit cash into your account at any M-Pesa agent, and then use your phone to send and receive money, pay bills, and more. You can also use the M-Pesa App to check your account balance, view your transaction history, and even download statements.
One of the best things about M-Pesa is that it's widely accepted in Kenya. You can use M-Pesa to pay for goods and services at thousands of merchants across the country, from small shops and market stalls to large supermarkets and restaurants.
In conclusion, using M-Pesa in Kenya is easy and convenient. With this guide, you should now have a good understanding of how to use M-Pesa to send and receive money, pay for goods and services, and even access a range of other financial services. Whether you're a local or just visiting Kenya, M-Pesa is a great way to manage your finances on the go.
For more information on how to use M-Pesa, you can visit the Safaricom website or check out some of the many online tutorials and guides available. You can also visit an M-Pesa agent or Safaricom shop for assistance with registering for M-Pesa or using the service.
We hope this guide has been helpful in getting you started with M-Pesa. Happy mobile banking!

No comments yet.